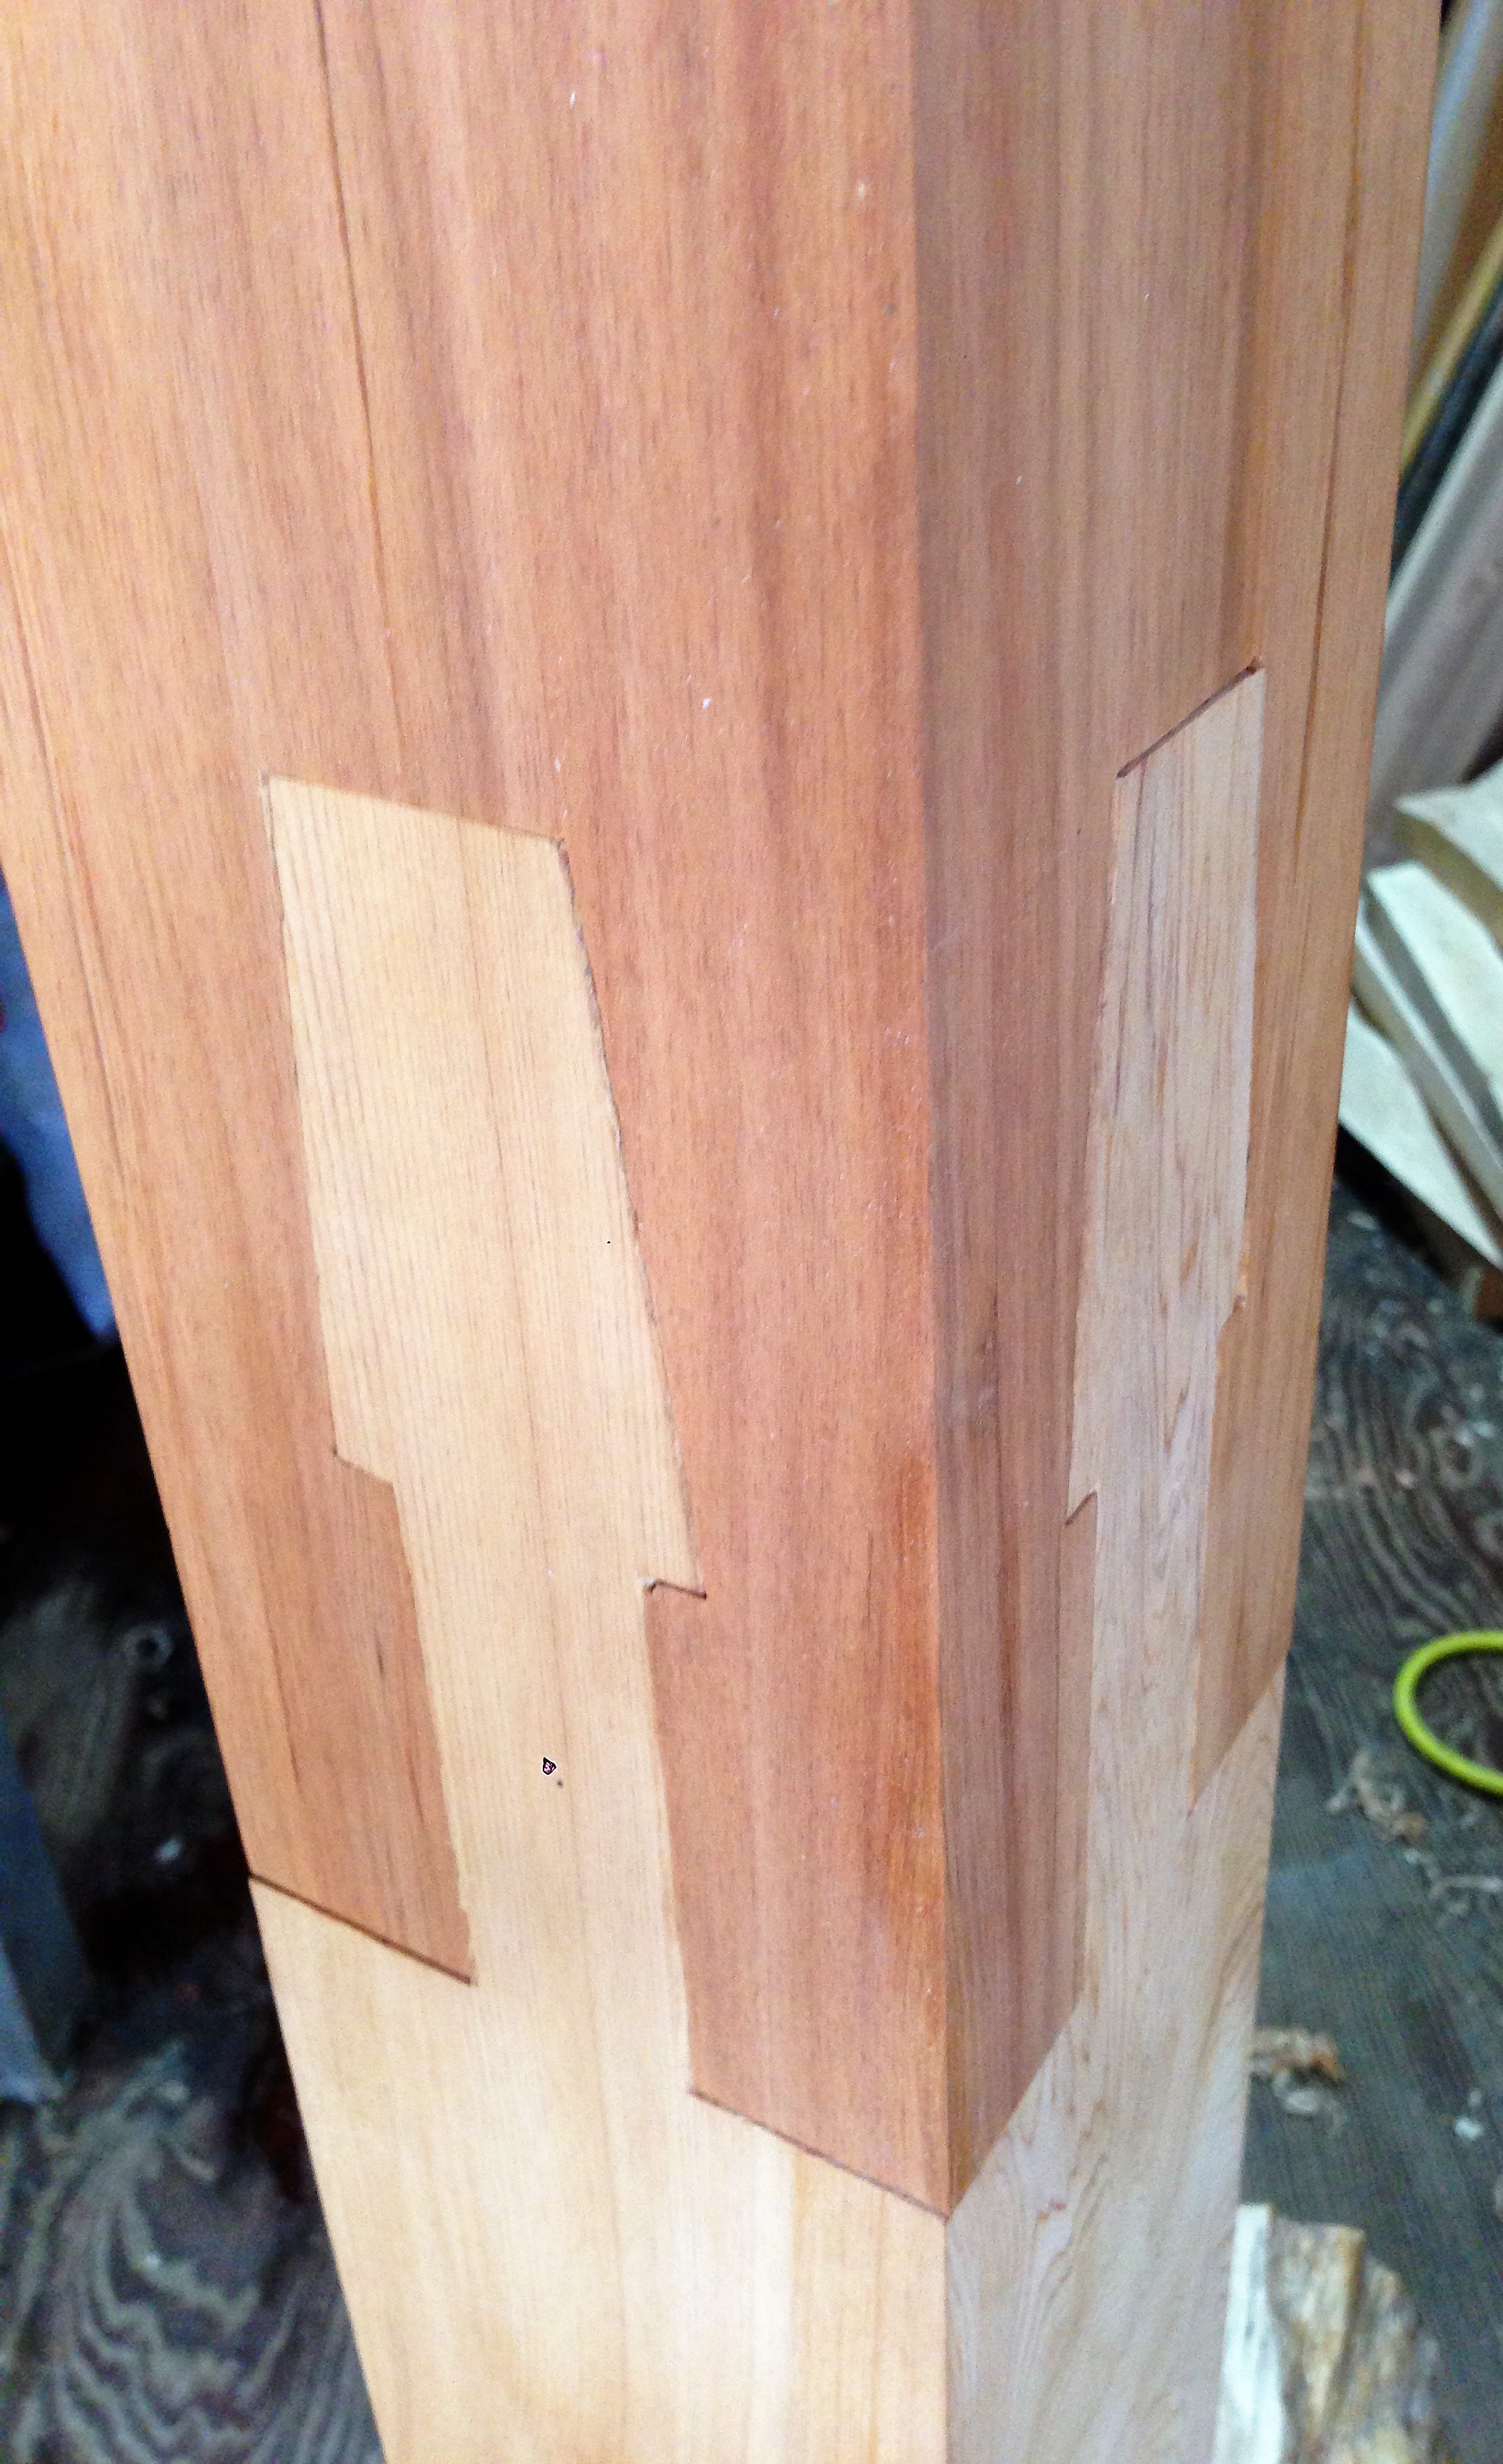
This is a curious piece of joinery.
It looks like an ordinary Kama-Tsugi but the joinery appears on all four sides. At first glance, it will definitely test your IQ level. Here, I will show some methods and techniques for making this Japanese wood joinery.
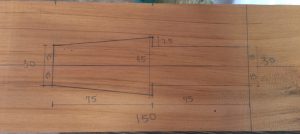
The measurements used in this case (in millimeters). The same measurements are used for all four sides.
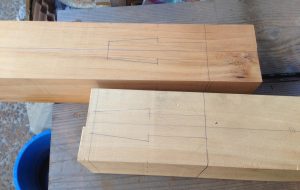
Draw the same lines for the other material as well. This means you will end up drawing the same lines eight times in total – four sides times two material.
The First Part
The way this joinery works is by the wood sliding in diagonally together.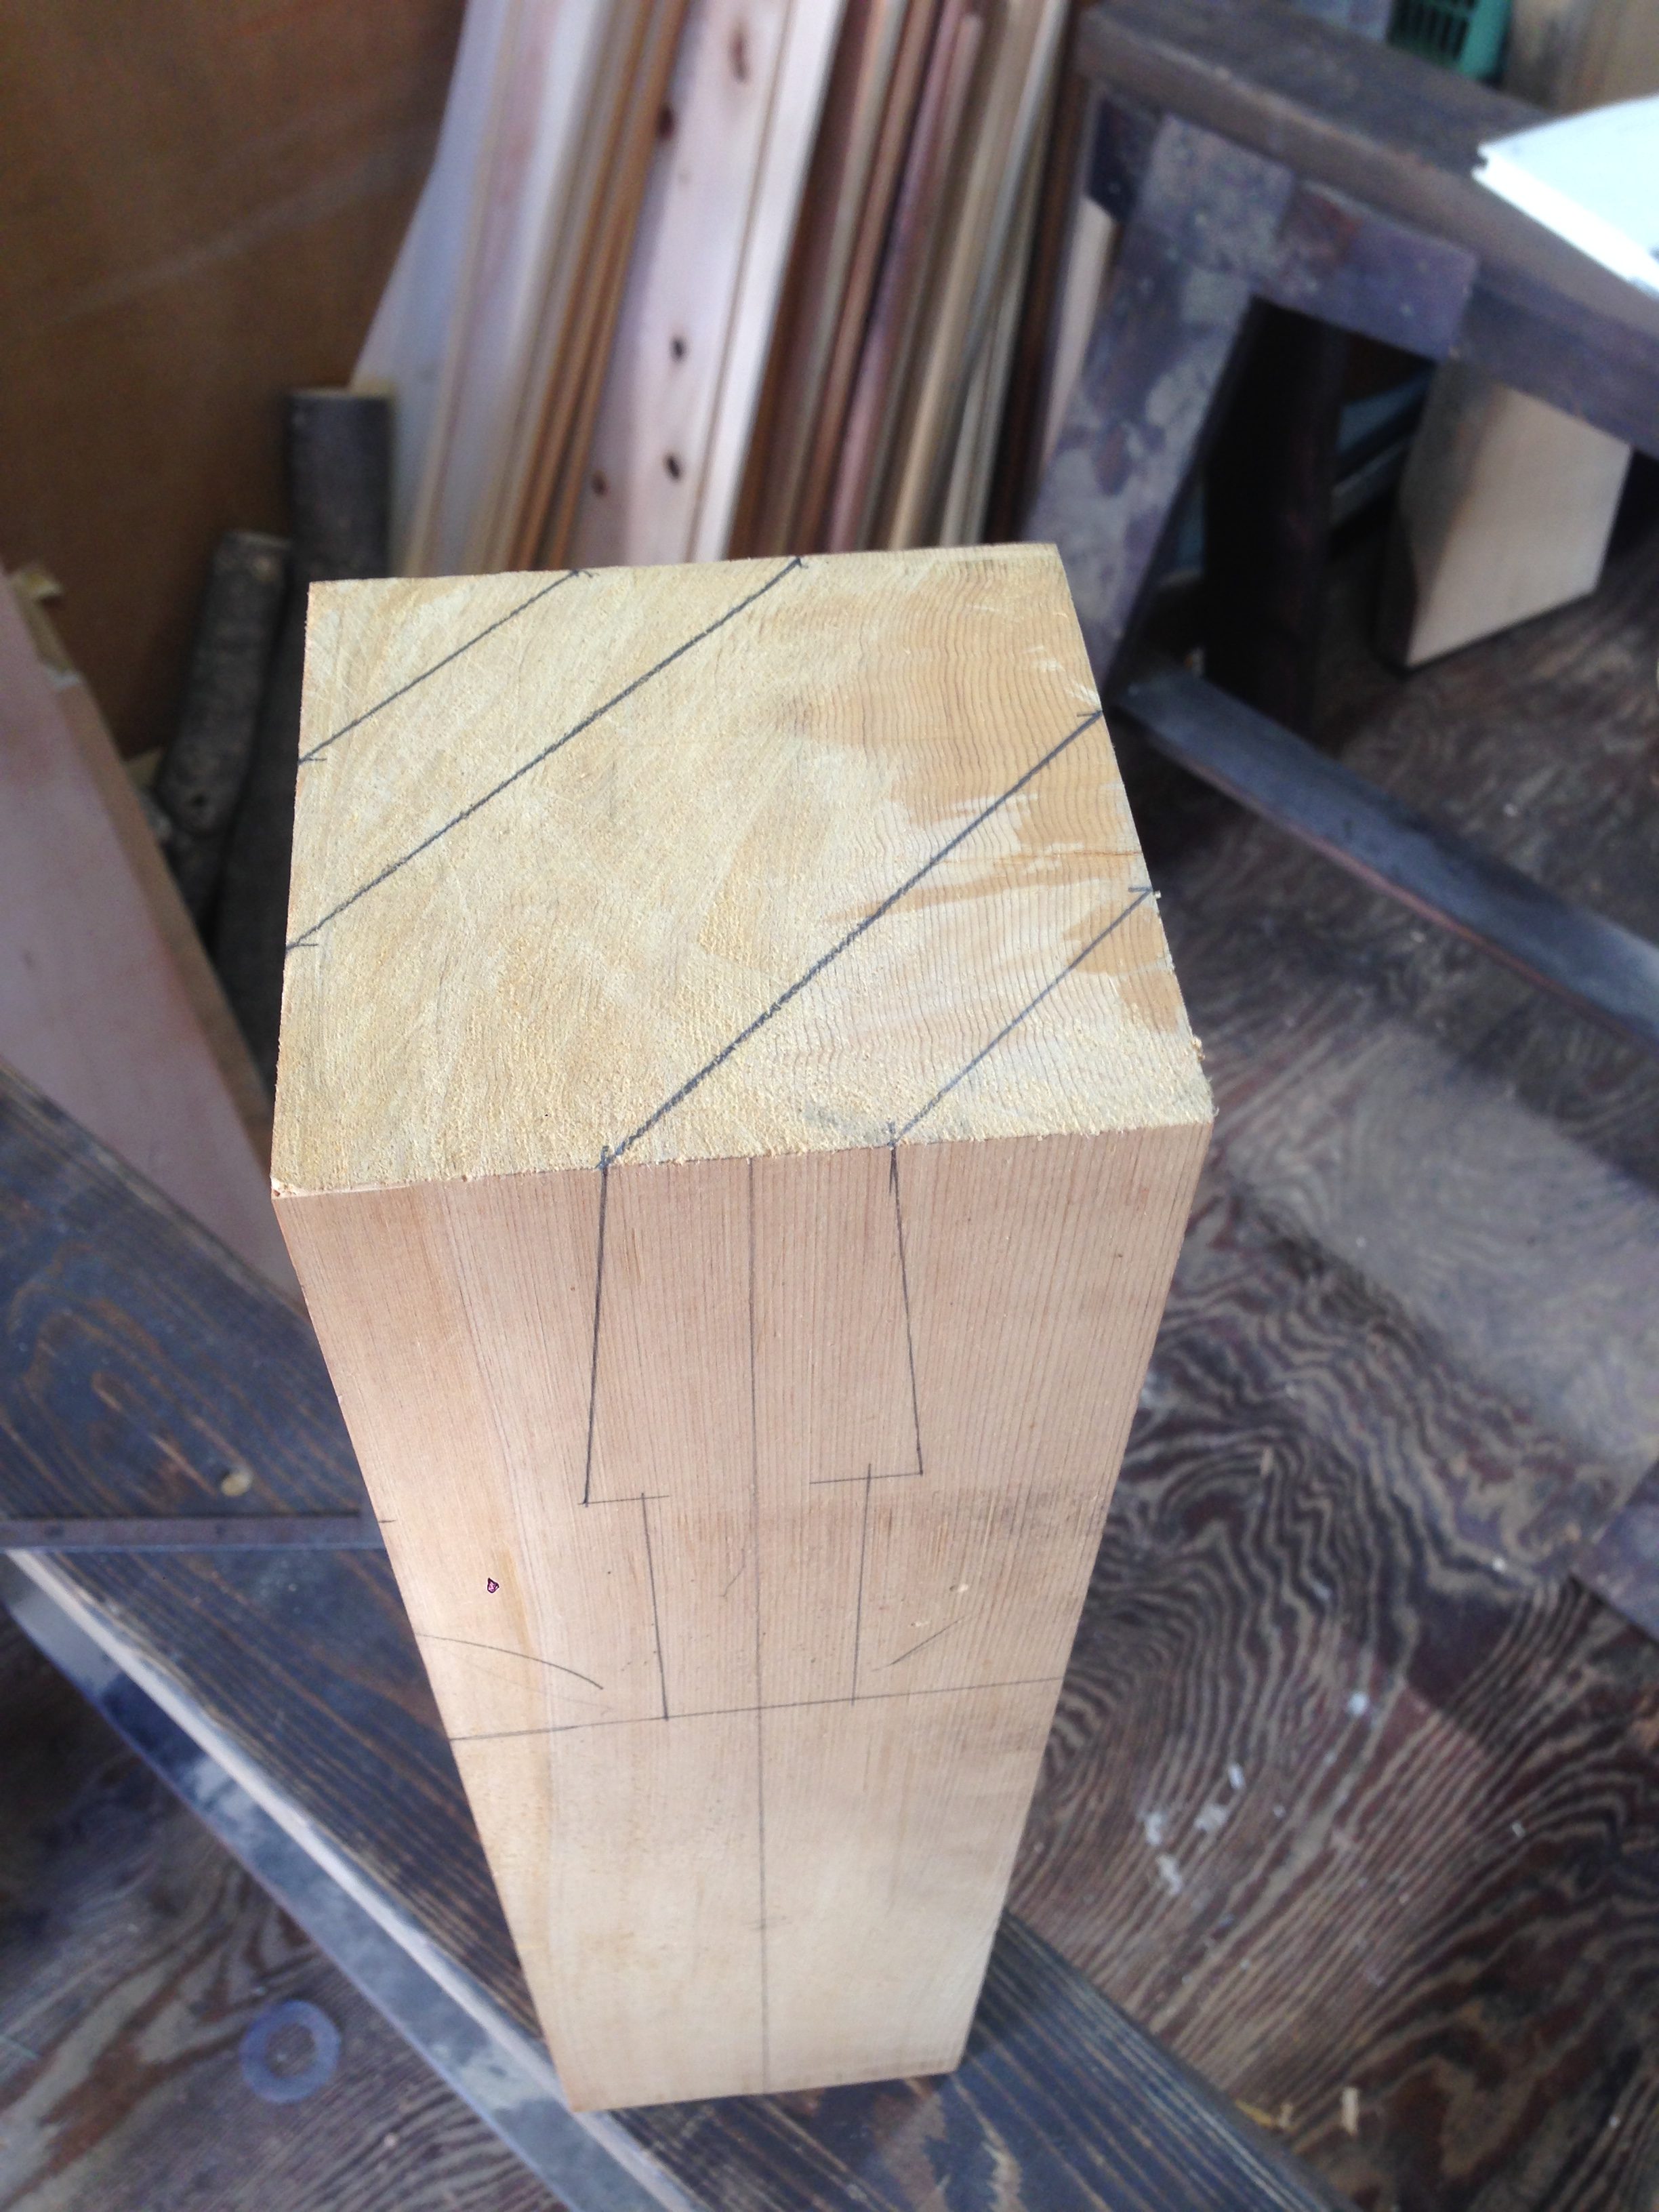
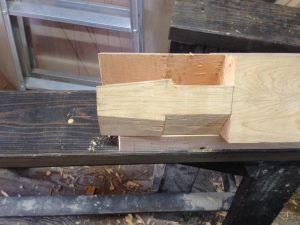
Once the end is sawed off, connect the lines at the wood end together (as shown in the photo above).
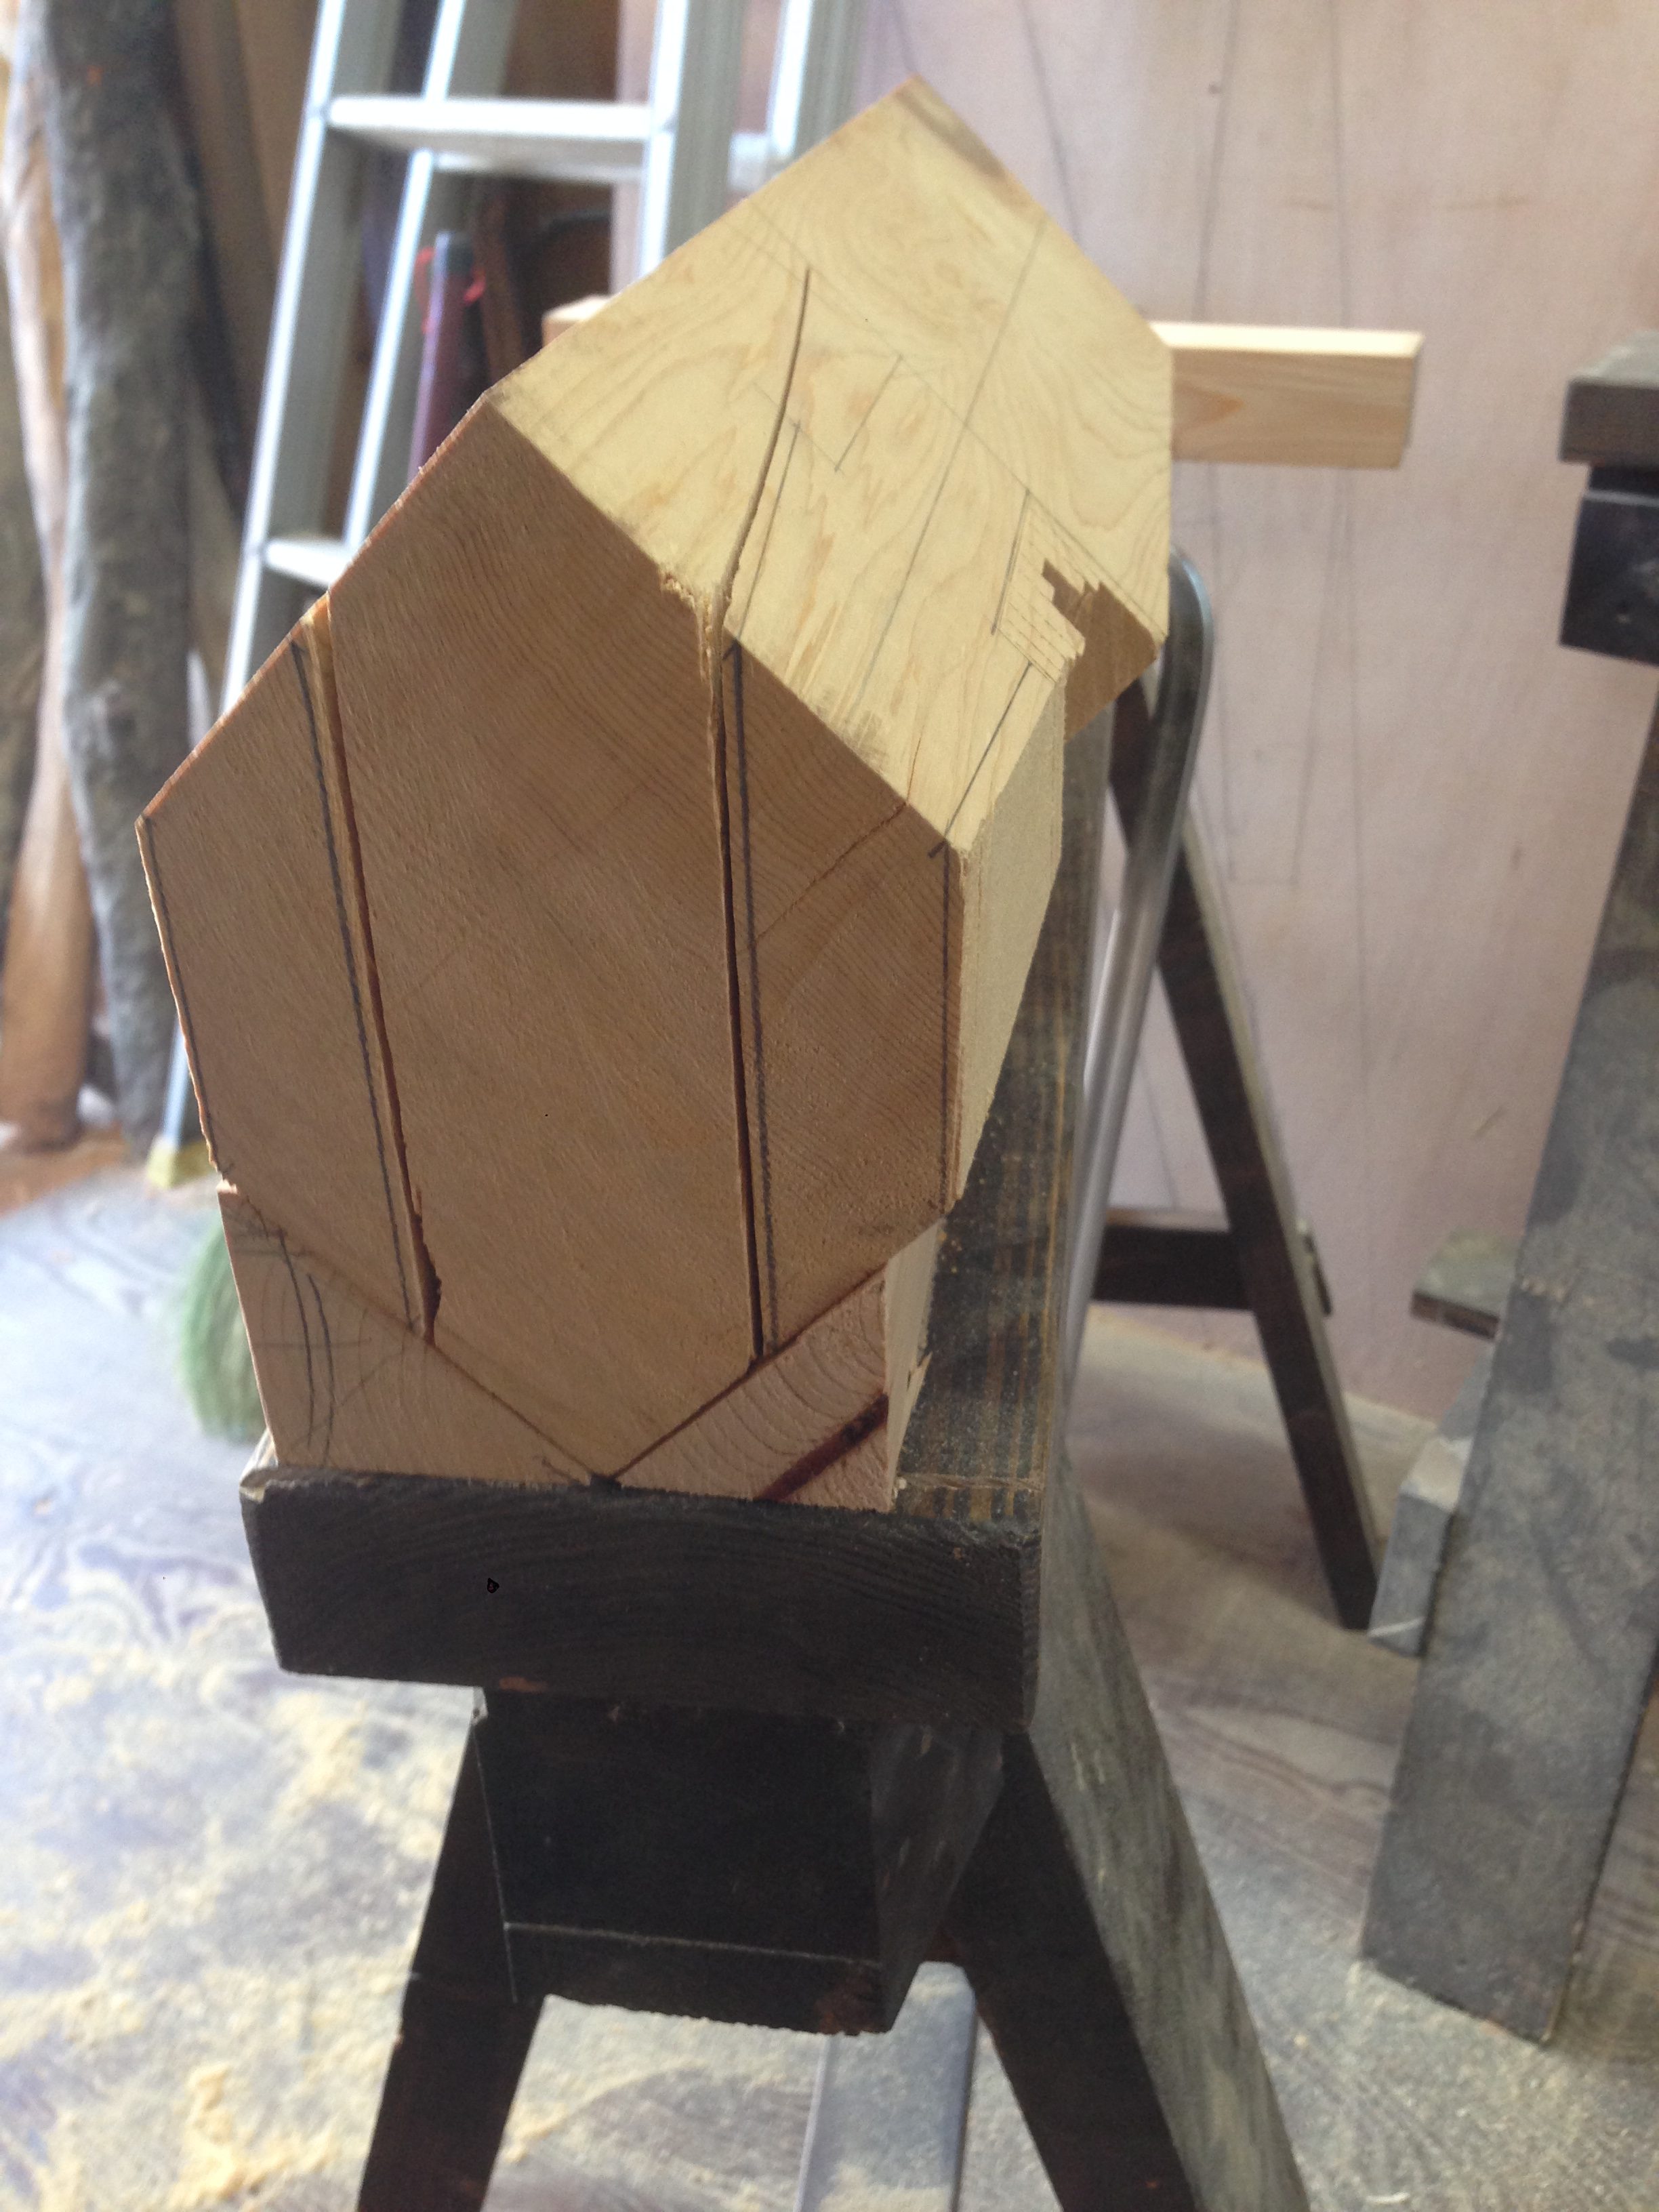
Before actually getting started with the making, I would recommend making a guide.
The two triangles below the wood are the guide. It holds the material in place and lets you saw and use the Nomi (chisel) vertically.
The first step would be to saw off all the unnecessary bits off. This is easier said than done.
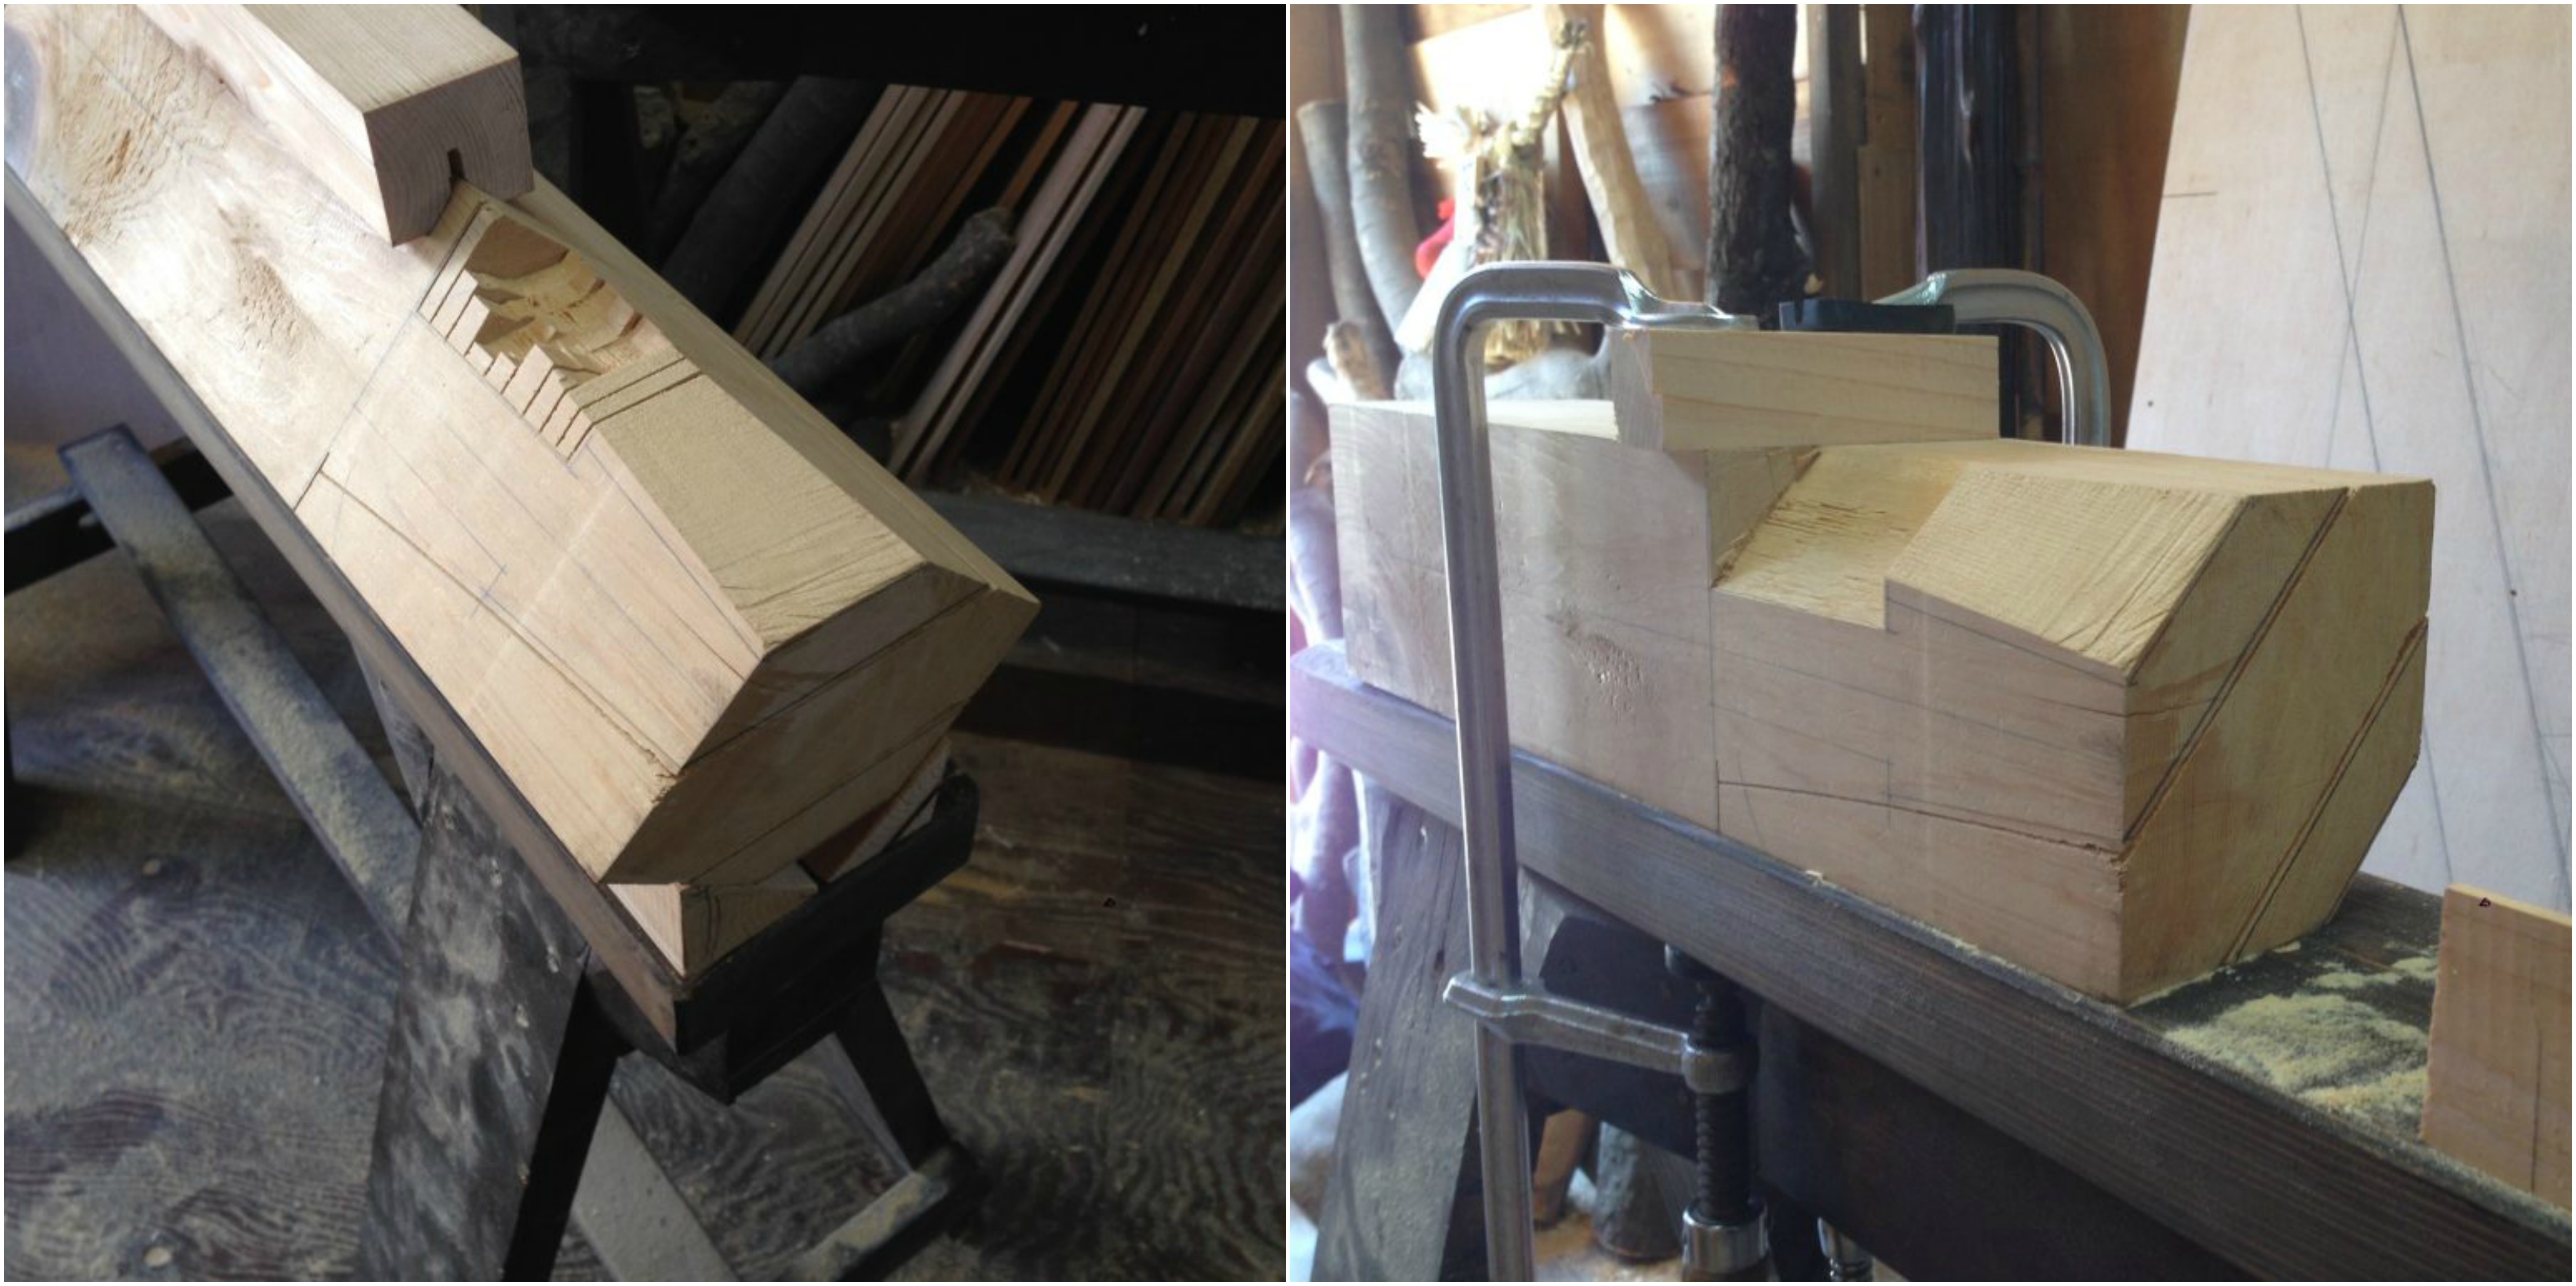
For the outside areas, simply sawed off as much as possible (remember when sawing, aim a little outside from the line). Using the Nomi and/or the Kanna, get rid of the excess materials.
I would recommend using a Nomi to clean up after the saw and getting as close to the line as possible. Then, to finish it off until the line using a Kanna – The outer (higher) area with a Ko-Kanna and the inside (lower) area with a Kiwa-Kanna. If you do not have the necessary Kanna, use a Nomi.
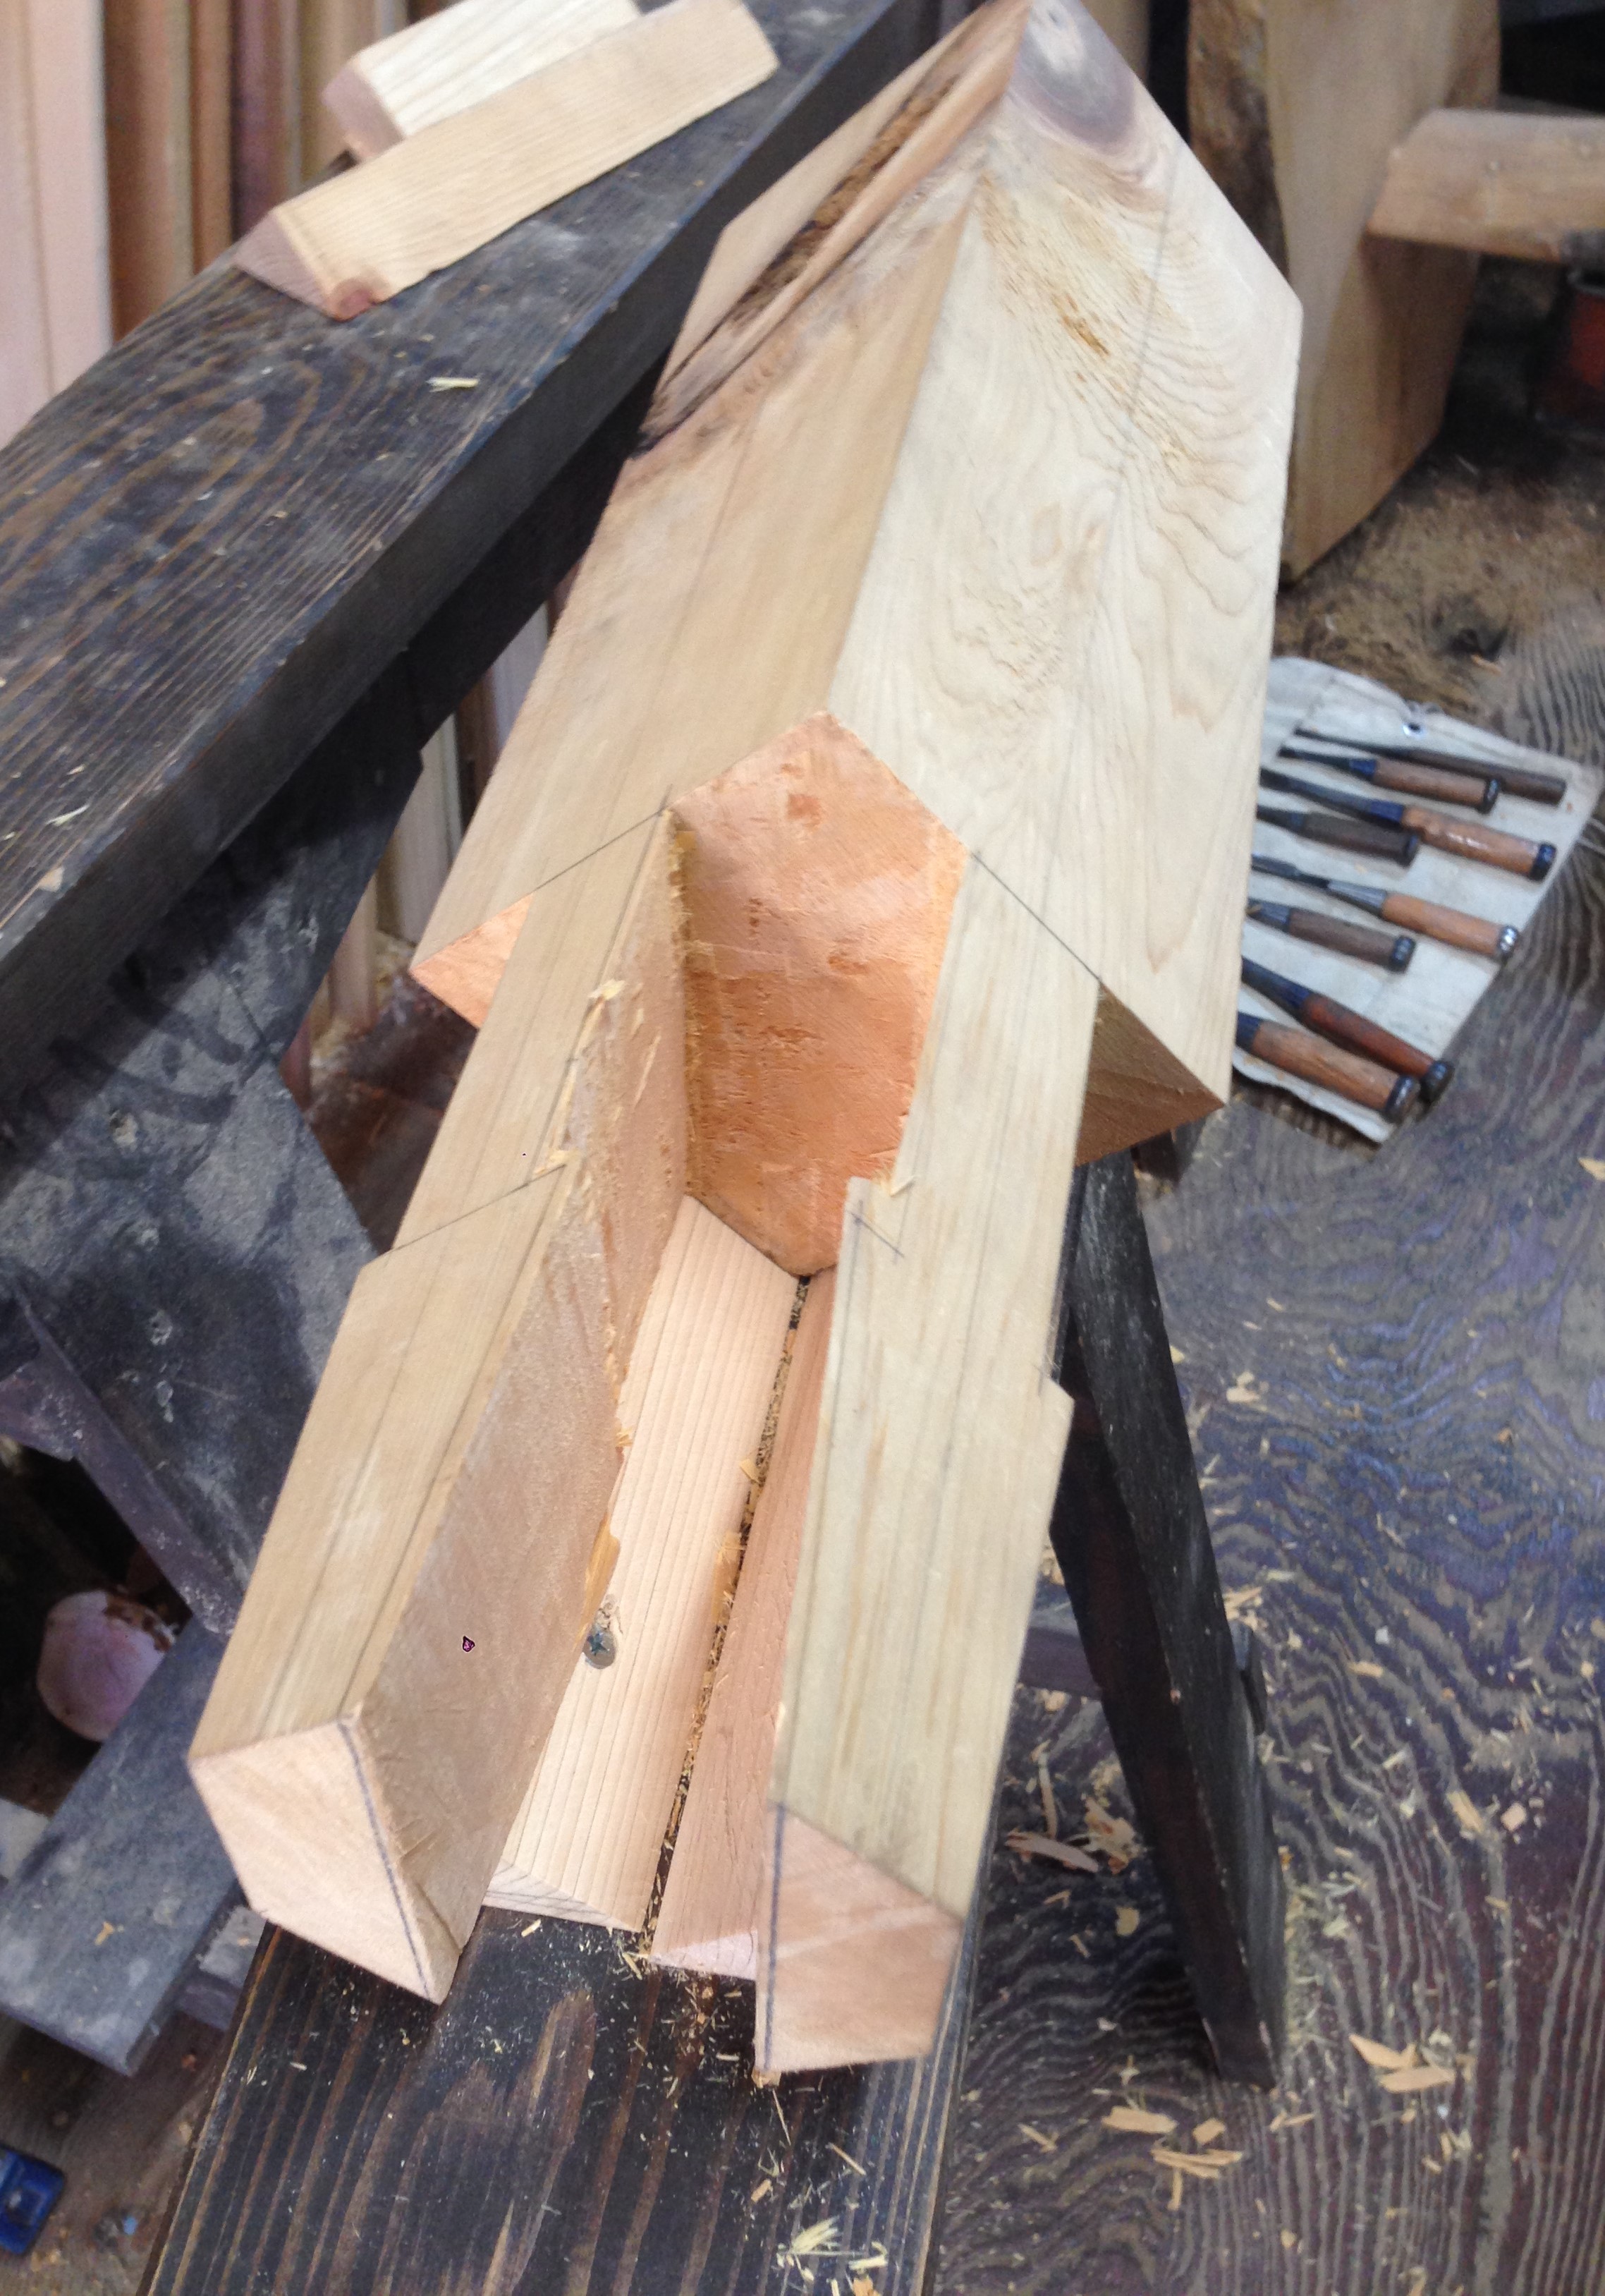
For the inside part, I first used a power drill to drill a hole. Next, the hand saw was used to saw off both sides.

When using a Nomi (chisel) to finish it, it is best to use a guide – a piece of wood cut at 45 degrees. This gives a cleaner and a more precise finish. Make sure the back (Ura) of the Nomi is properly flattened.
Unfortunately, I forgot to take pictures of making the other part. But the method is similar. Use a saw and drill (or a Nomi if you would like to go the hand tool route) and finish off using a Nomi and a guide (unless you have a special Kanna, a normal Kanna would not be able to fit in).
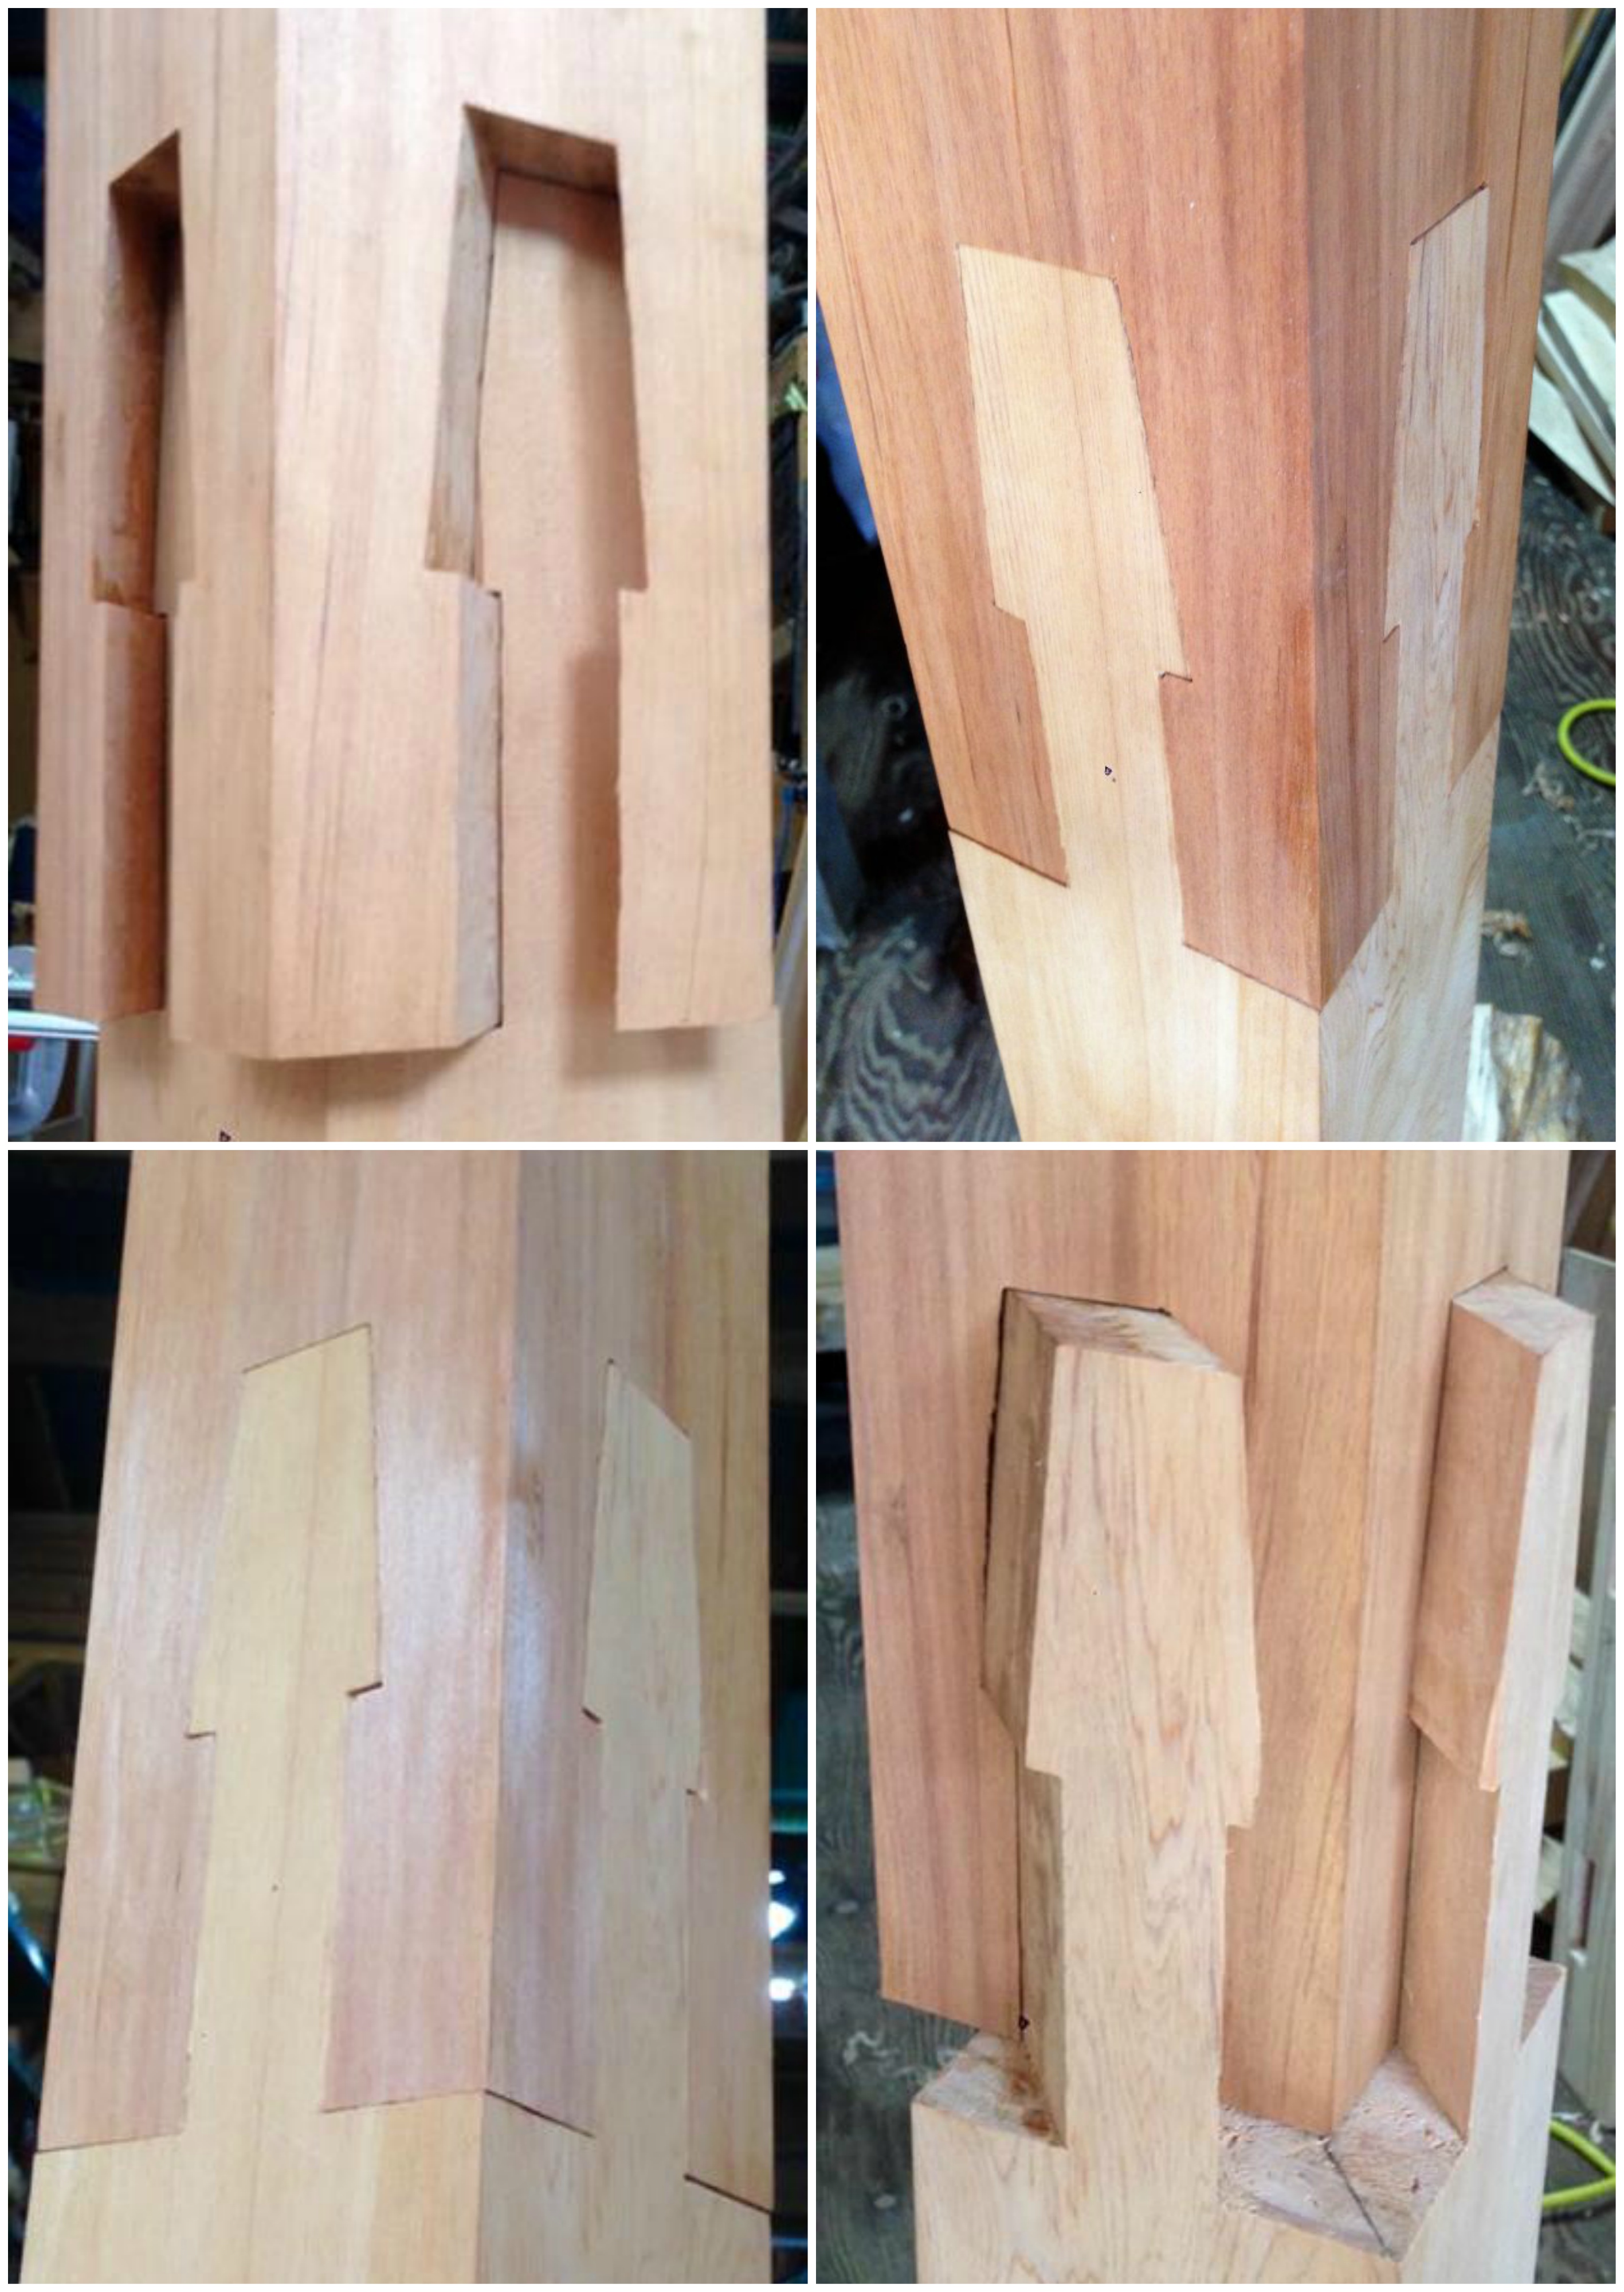
The finished product. It is probably better to make it a little loose so that it is easier to slide it in-and-out.
Check out my Instagram!
At Suikoushya, we share traditional Japanese woodworking techniques and skills. Since it is a small group system, we will provide guidance tailored to each individual’s skills, from beginners to woodworking professionals. Please join us!
I look forward to sharing fine woodworking with you.
One month Japanese woodworking classes
